|
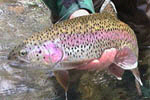
This pattern began as an
attempt at solving a problem that came about while
fly-fishing for bluegill out of my neighbor’s pond.
Traditional hopper patterns with deer hair as the primary
source of floatation would start to sink after catching a
few fish. I decided to try to make a hopper pattern with a
foam body. I had tied some extended body damsel patterns in
the past and liked the way the foam mimics an insect’s
segmented body. All of the foam bodied flies I had seen had
the foam lashed down on top of the hook. This makes a nice
segmented body on top, where the fish cannot see it, and the
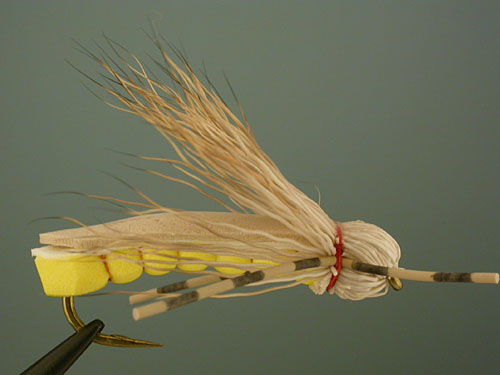
hook in plain sight along the underside of the fly. I
decided to try and stick the hook through the foam and then
tie it down so that the segments would be on the bottom
where the fish can see them and the hook would not be so
obvious. After some trial and error my pattern worked and no
matter how far it got pulled under it would float back to
the surface. The only problem I ran into was that the
buoyant foam on the bottom of the hook wanted to rise up
which ended with the fly flipped over on its side in the
surface film. I figured that I could glue down a second
strip of foam along the back. Luckily around the same time I
came across the thinner razor foam, which is very flexible,
and lends itself to this method. I decided to add the extra
white underwing as an added bit of fish attracting flash.
|
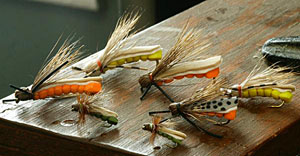
Photo by David Kratville |
This fly originally started out as a hopper
pattern but I have found it really shines as a caddis
pattern. It makes a tremendous searching pattern and has
replaced my previous favorite, the Humpy, for prospecting
pocket water. This fly will float all day long which is
something I demand from a dry fly. Occasionally the wing and
hackle seem to get a little waterlogged but a little shake
in floatant crystals and she will be riding high again. I
have tied this fly down to size 18 on a Tiemco 531 hook that
has a short shank and large gap that leaves plenty of
hooking room without the foam filling up the gap. It is
easier to dub the underbody on the smallest flies and then
glue in the wing on top. These small caddis patterns work
great as an indicator dry with a midge or small mayfly nymph
as a dropper. The funniest part of the story of this fly was
that after submitting it to Fly Anglers On Line as a
"Fly of the Week" (click
here to see the step-by-step photos on FAOL), I walked
into a local flyshop and saw my first Barr’s Dropper Hopper.
I tie all of my flies and do not look through the fly bins
at fly shops that often. My moment of genius was instantly
squashed when I saw Barr’s fly which used “my” technique for
piercing the foam on the hook. So much for creativity!
- David Kratville
|
...Tie
this pattern as a hopper, stonefly, or caddis... |
|
Photos below by Peter Frailey
Kratville Hopper
Kratville Stonefly
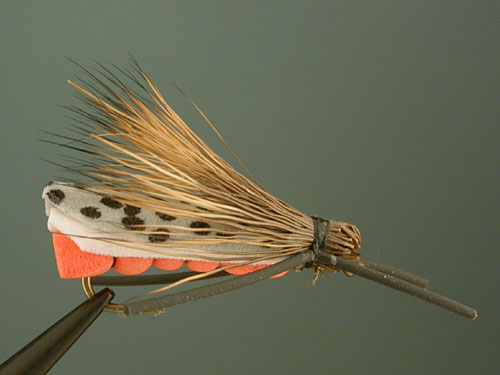
October Caddis
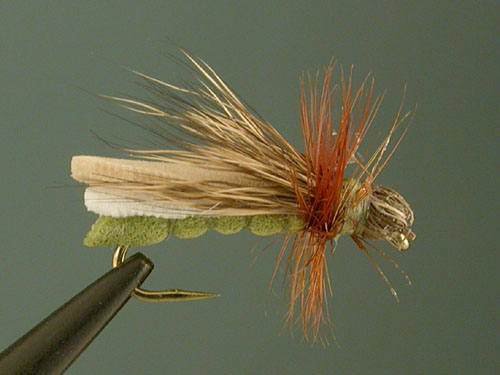
Kratville Caddis
|
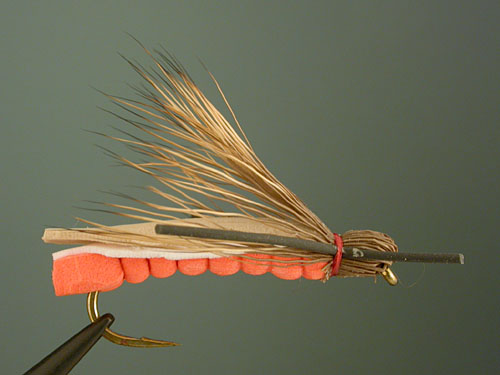
Tying
Sequence:
Hook: Tiemco 2302 Size 14-16
for caddis, Size 10 for hoppers, Size 6-8 for
stoneflies
Thread: Danville 3/0 or 6/0
on smaller flies. Black seems to make the
segment lines stick out but red against the
yellow for a hopper looks good too
Body: Foam, either standard
thickness (2mm) foam cut to an equal sided strip
or 1 mm Razor foam folded and super glued on the
smaller flies.
Underwing: .5 mm white Razor
foam
Overwing: 1mm tan or other
color Razor foam
Bullet-head and collar: Deer
hair, fine hair from flank of deer to keep bulk
down
Legs: Medium centipede legs or brown
hackle
Additional tying Information:
Be sure to see the
step-by-step illustrated tying instructions on
flyangleronline.com, where this fly was featured
as a fly of the week in February of 2006. Go to:
http://www.flyanglersonline.com/flytying/fotw2/022706fotw.html |
|
|